Maintenance Connection Everywhere (MCe) · EAM/CMMS manuals
Overview
- Preferences define how to connect to the various map providers including ESRI etc..,
- Users have to be given access (license manager)
Details
Preferences setup
Getting to Preferences
Getting to Access Manager
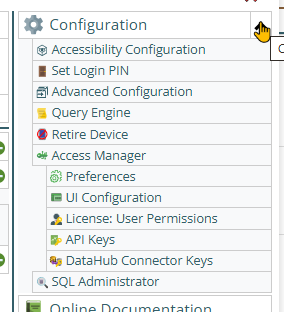
The Access manager requires that you have rights to the "Access Manager" license. YOU decide what permissions it needs, not us, that is discussed elsewhere.) The Access Manager is on the Configuration page
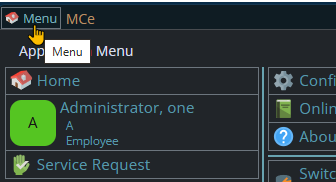
Start by clicking on the main menu button on the left panel, top left portion.
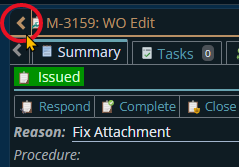
If the menu button isn't visible, you are likely on a screen too narrow to see everything, press on the left pointing gold button to take you so you can see the menu button.
Variation 1: What you have access to
Depending on the size of your screen, what products your company has purchased and what rights you have been granted, the choices in the menu will vary.
Variation 2: How wide your window is
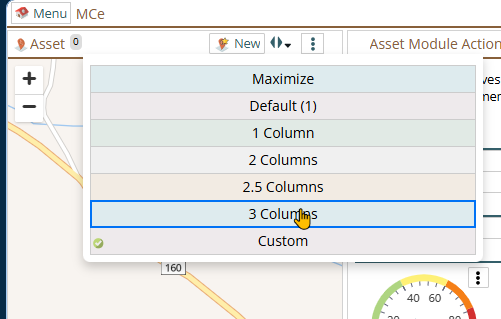
The menu will show up as 1, 2 or 3 columns depending on how wide your screen is.
If you are on a cell phone, and some smaller tablets in portrait mode or a narrow window on a laptop or desktop, you'll see the menu as one column that you scroll through using your finger or the scroll wheel or the scroll bar depending on your device, browser and whether you have a touch screen or not.
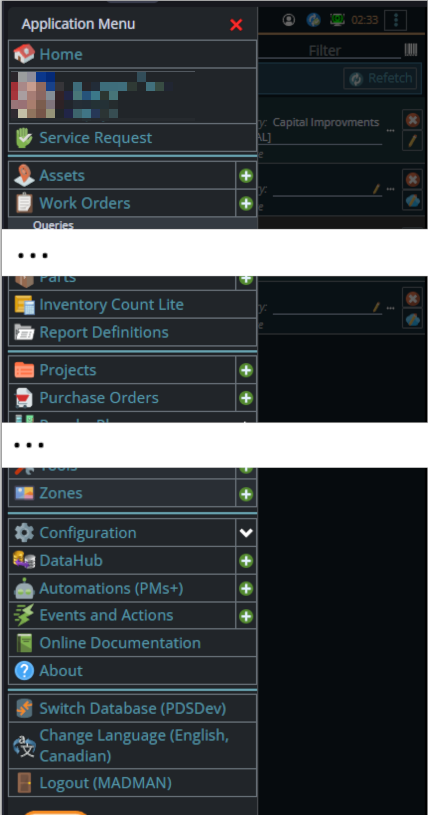
A bit wider, some cell phones in landscape, some tablets in portrait, most tablets in landscape and 'somewhat' wider laptop/desktop, will show it as 2 columns wide, with the middle column available on the left by scrolling down
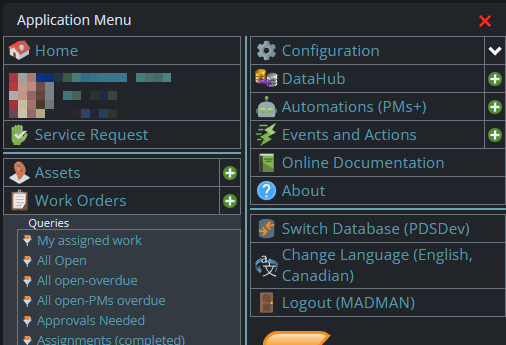
And wider screens, some landscape tablets, and wider windows on a laptop or desktop show it as 3 columns. If you have all the dropdown sections expanded, it may still require vertical scrolling to see all the choices depending on the height of your device or window.
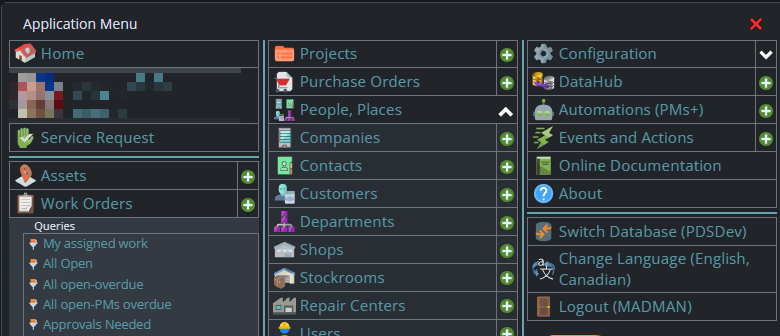
Once the menu is up, the exact location of the configuration button depends on how wide your window is and how many options you have access to. On most it will be at the top of the 2nd or 3rd column of the menu but on a cell phone or narrow window, it will be down partway in the first column.
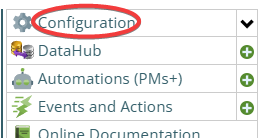
Then from there you choose the Access Manager, or what we call the funny green key
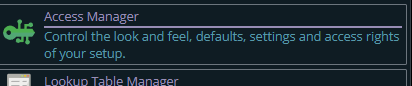
You can also click on the right hand V button in the main menu (if you don't already have it open), noting if you do it this way, you can directly pick the Access Manager tool that you want to go into.
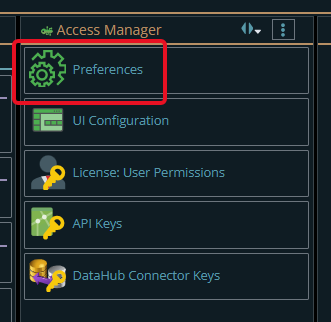
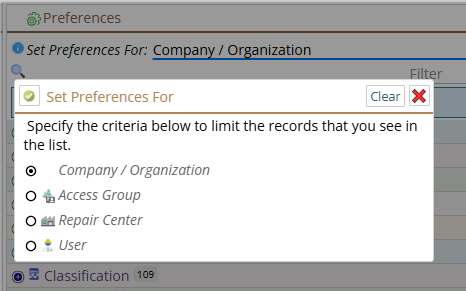
Now press the Preferences button
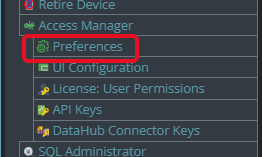
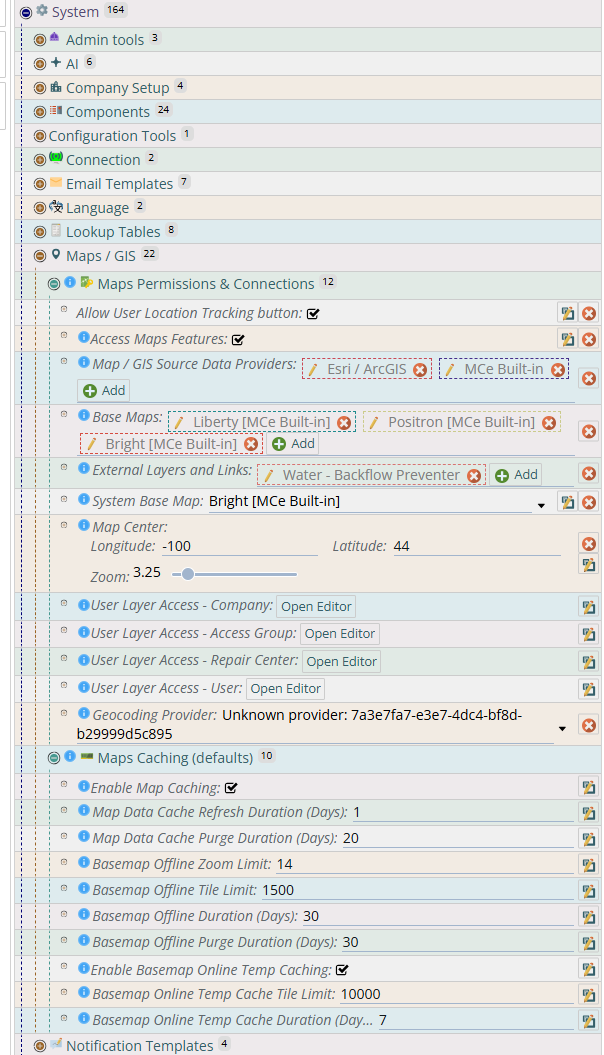
The first is making sure your setup for the maps is correct.
You need to make sure the assets attached to the work order are connected - you can check this online as well as offline
Offline
Enable Caching
you need to make sure "Enable Map Caching" is turned on, either at the corporate level or at a level that matches the people you want to have it on for.
Base maps
You need to make sure you have a base map that can be and can legally be used offline. So for example ESRI and Google owned ones cannot be. But ones you own/create can, and OpenStreets which can legally be offlined.
You then, each user/device need to spend a bit of time making sure the mapping data is, based on the rules above, offlined.
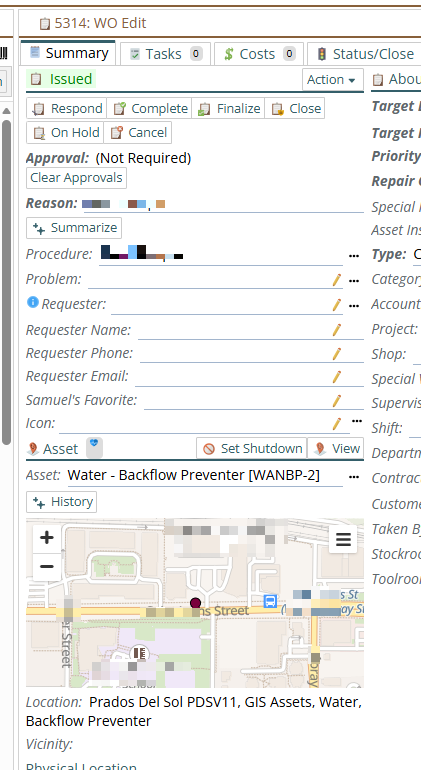
Some (limited) GEO data is synced without you doing anything, for example the "my assigned work" work orders offline query offlines the WOs along with their assets which in turn, if they have the geocoding, they will show up on the map (see 2nd mage below)
Others like the base map, do require the 1st time that you spend a bit of time, easiest is on the asset screen, scroll around the area you care about at the resolution you wish to have.
While the screen shot below was taken offline, the first time you do have to be online to do this. Then turn your internet connection of and test to see that you have what you want. In the future when you look at additional things while online - you will get that cached as well.
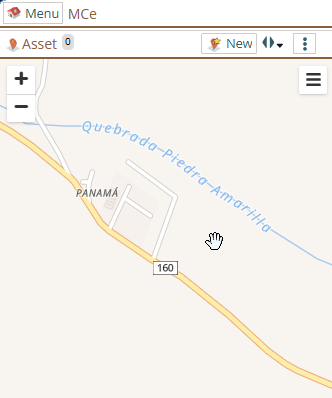
Power Tip: While doing this, maximize your window size and set the panel size larger than usual so that you can grab as much of the map data at the resolution you want as quickly as possible. If you work in a limited area like a subdivision or even a city, this can let you get the map detail you need in seconds. If you work world wide, zoom out to see everything, then quickly zoom in to each of the areas you want greater detail, such as each of your buildings.
Once you have done that once, it will cache it based no live moves and be retained based on the retention schedule you specified above. If you find it is being lost - set the retention higher. Noting that the longer the retention, if you go to a wide number of places, that data will then be cached on your device for the longer time. If you want it cleared sooner or your device is running out of space, set the retention lower. Caching a lot of maps at different layers can use up a lot of memory, but for most users on most devices we do not anticipate this will be a problem.
License Manager:
Getting to License Manager
Getting to Access Manager
The Access manager requires that you have rights to the "Access Manager" license. YOU decide what permissions it needs, not us, that is discussed elsewhere.) The Access Manager is on the Configuration page
Start by clicking on the main menu button on the left panel, top left portion.
If the menu button isn't visible, you are likely on a screen too narrow to see everything, press on the left pointing gold button to take you so you can see the menu button.
Variation 1: What you have access to
Depending on the size of your screen, what products your company has purchased and what rights you have been granted, the choices in the menu will vary.
Variation 2: How wide your window is
The menu will show up as 1, 2 or 3 columns depending on how wide your screen is.
If you are on a cell phone, and some smaller tablets in portrait mode or a narrow window on a laptop or desktop, you'll see the menu as one column that you scroll through using your finger or the scroll wheel or the scroll bar depending on your device, browser and whether you have a touch screen or not.
A bit wider, some cell phones in landscape, some tablets in portrait, most tablets in landscape and 'somewhat' wider laptop/desktop, will show it as 2 columns wide, with the middle column available on the left by scrolling down
And wider screens, some landscape tablets, and wider windows on a laptop or desktop show it as 3 columns. If you have all the dropdown sections expanded, it may still require vertical scrolling to see all the choices depending on the height of your device or window.
Once the menu is up, the exact location of the configuration button depends on how wide your window is and how many options you have access to. On most it will be at the top of the 2nd or 3rd column of the menu but on a cell phone or narrow window, it will be down partway in the first column.
Then from there you choose the Access Manager, or what we call the funny green key
You can also click on the right hand V button in the main menu (if you don't already have it open), noting if you do it this way, you can directly pick the Access Manager tool that you want to go into.
From there select the License User Permissions button


Make sure the users have been given permission to use the GIS. You do NOT have to use "all users have access" but you do need to have at least one permission/rule/line that gives the users in question access.
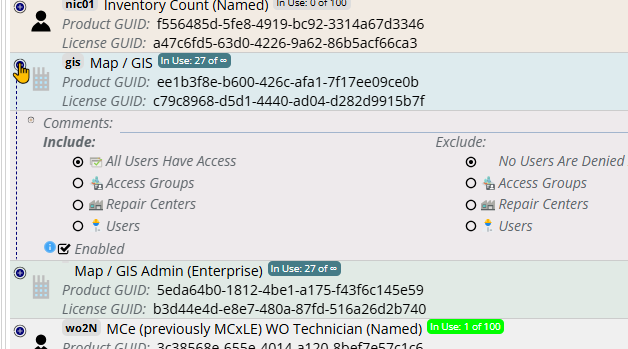
If you have ESRI Arc/GIS note that you will have at least two licenses. The Admin one (bottom in the image above) is for setting up. Most users do not need access to it. What most users need is the Map/GIS license.
Seeing the Results:
The following is (depending on how you have customized the screen) what you should see with a WO assigned to you (so data is auto-offline), when you go to it with no connection. (Well, some of the data has been pixelated to obscure it - in your case you'll see the actual street names etc..,) This screen shot was taken while I was offline, but I could just as easily have been on-line.