
 Maintenance Connection Everywhere (MCe) · EAM/CMMS manuals
How to create a basic Event and action?
Overview:
A simple guide showing how to set up an Event that automatically triggers an Action.
STEP 1: Go to events and actions
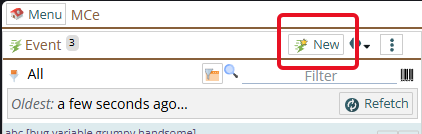
In the menu, you can either navigate to the Events and Actions tab in the system and then press the New button that the top,
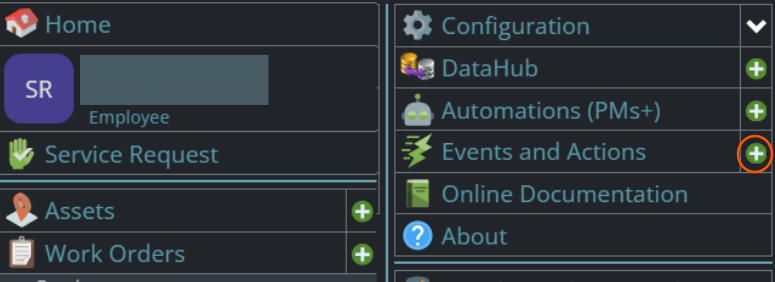
or you can in the menu just press the green circle with + to create a new Event and Action.
STEP 2: Fill out basic info
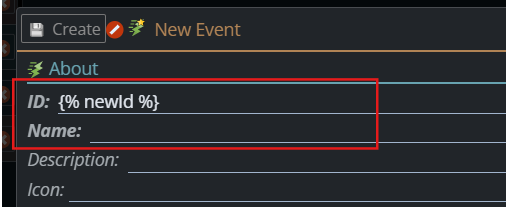
Enter the ID
and Name
for the event/action. Those fields are mandatory. In most systems, the ID or Name will have been hidden by your administrators. the {% newid %} you see there is a code to auto generate the ID.
STEP 3: Add to event workflow
Open the Workflow tab.
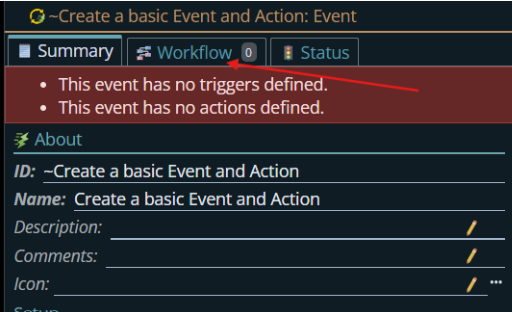
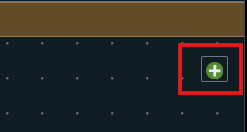
Click this + button.
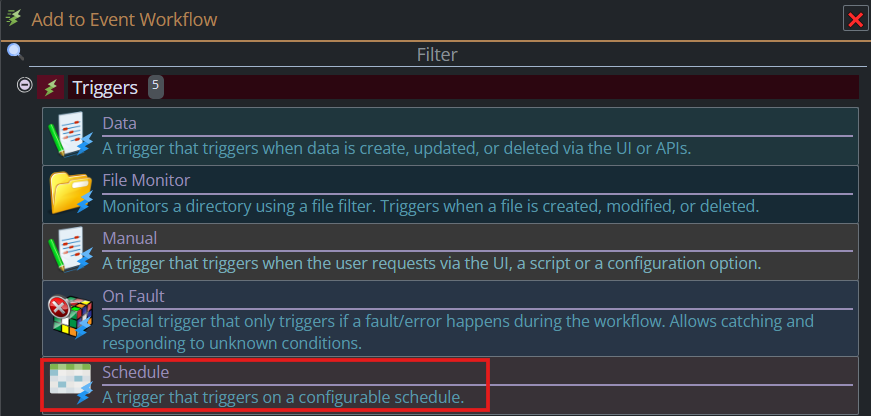
Choose and add a trigger based on your preferences.
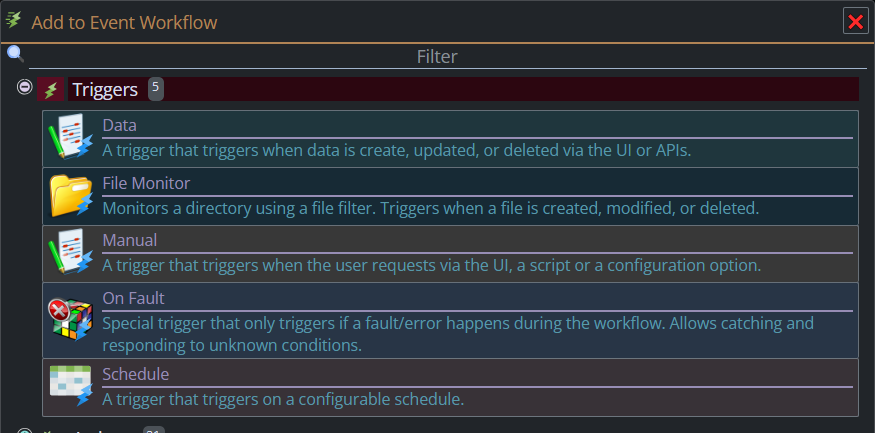
Note: This is just a sample.
STEP 4: Configure the Schedule
To follow along with our example, click the Schedule Trigger.
Enter a descriptive name. Comment is optional.
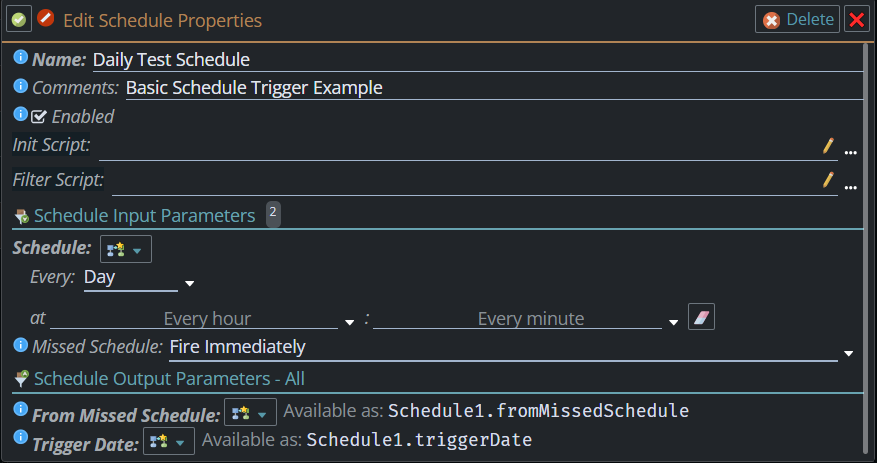
Under Schedule, set Every to Day. Select a time for the trigger to run. Example 3:00 PM. Set Missed Schedule to Fire Immediately. Then click Save.
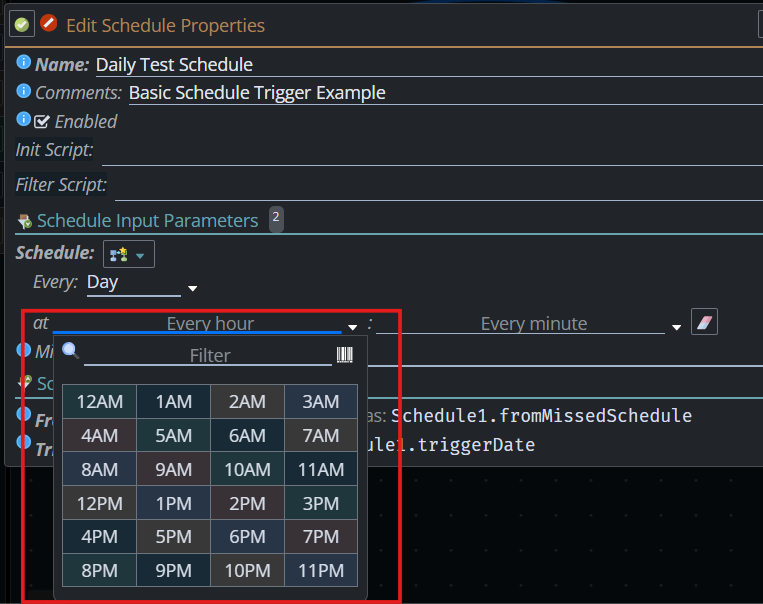
STEP 4: Add a logger action
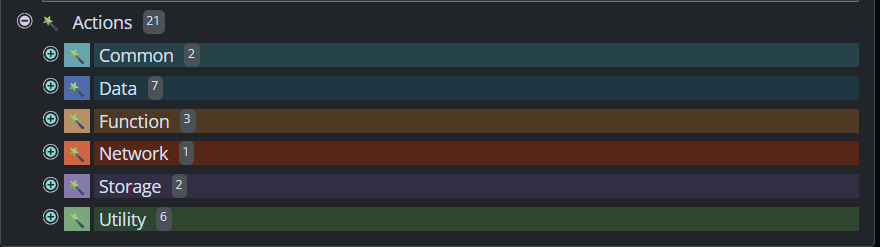
Expand the Utility Category.
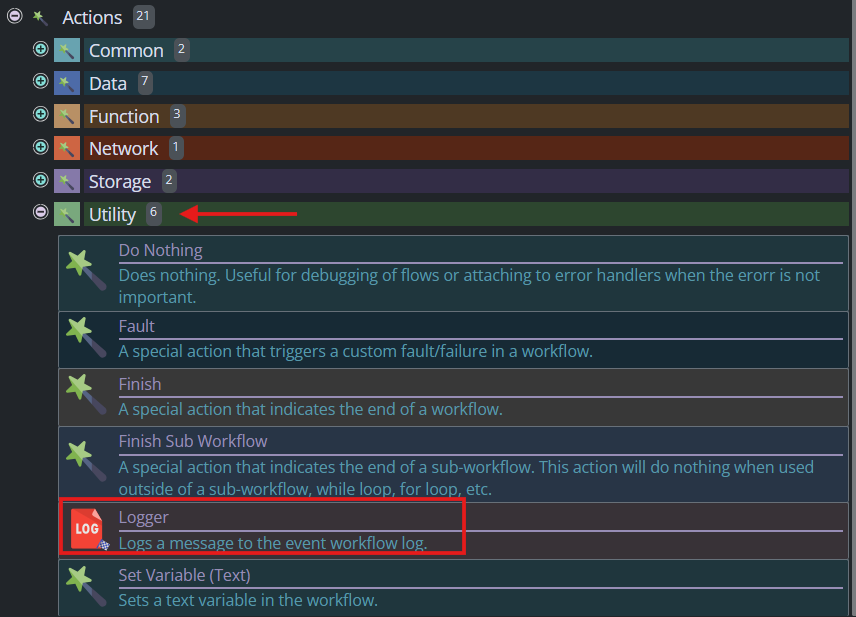
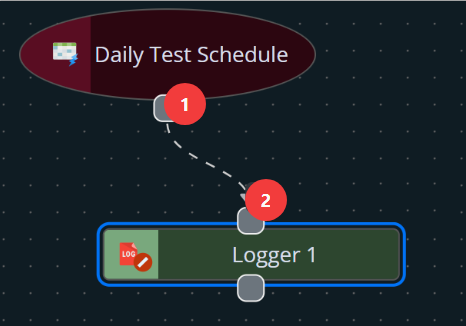
Drag a Logger action onto the workflow canvas. Then click in positions 1 then 2 to join the schedule to the logger, the dotted line with the arrow pointing at the Logger should show that you have it connected in the desired way.
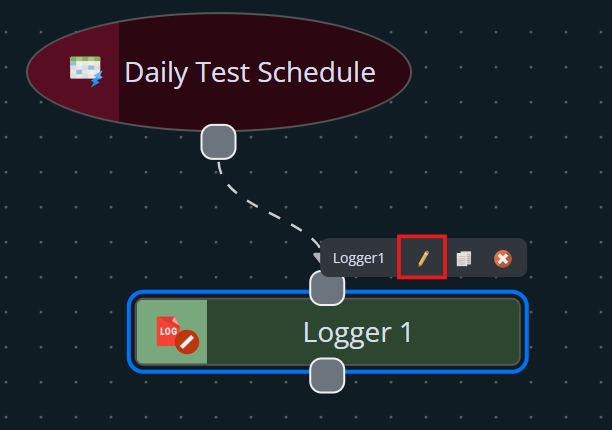
Click the Pencil Icon to edit the Logger details.
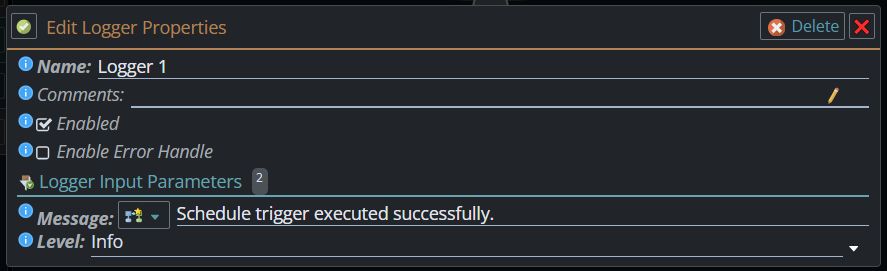
Enter a message based on your preference. Example: Schedule trigger executed successfully.
STEP 5: Add a Finish Action
Expand the utility category again and drag a Finish action onto the workflow canvas. The finish action marks the end of the workflow.
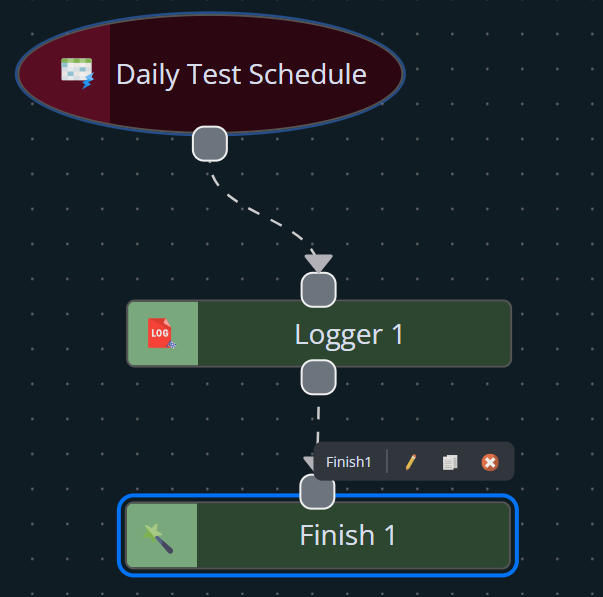
STEP 6: Save and Enable the Workflow
Ensure the event and action is enabled.
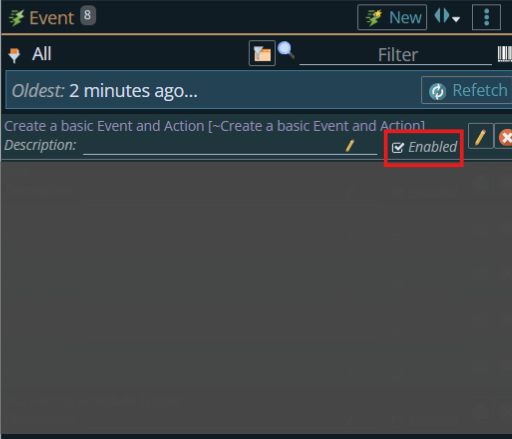
STEP 7: Test the Workflow
- Wait for the scheduled time to occur.
- Open the Event & Action logs.
- Verify that the Logger action executed successfully.
- Confirm that the message appears in the workflow log.
Expected Result
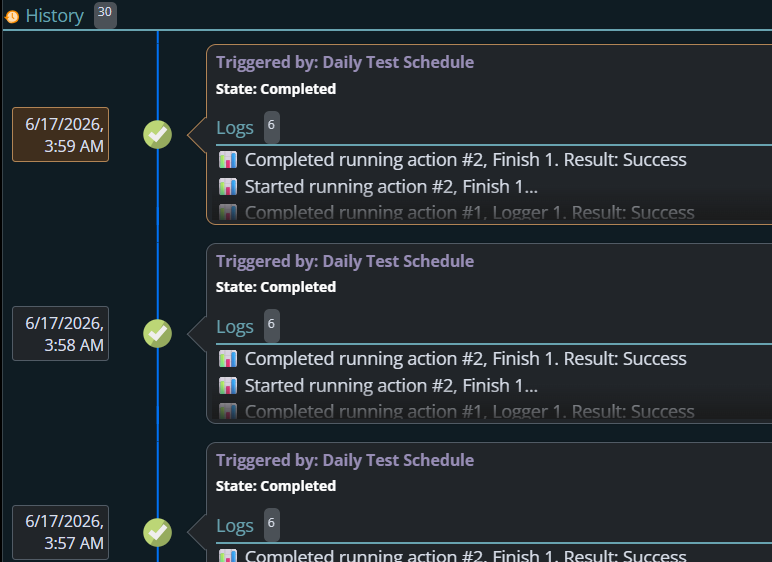
When the scheduled time is reached, the workflow automatically runs and records the following message in the log:
Triggered by: Daily Test Schedule
State: Completed
This confirms that the Schedule trigger and Logger action are configured correctly.