
 Maintenance Connection Everywhere (MCe) · EAM/CMMS manuals
TL;DR
Lookup tables are used throughout the system. They are lists of allowable values in different areas.
Some are 'system' tables that you can view but you can't edit.
Some are 'system' tables that are 'required' lookup tables such as WOSUBSTATUS or ASSETSYSTEM that you can edit the items in the list but you can't edit the list meta data.
And the rest are not system ones are are therefore ones you can create, delete and edit as you see fit. You likely got some included as samples to get you going. These can be used as values for UDF fields for example
Details
Getting to edit lookup tables
Getting to Configuration and related admin tools
Start by clicking on the main menu button on the left panel, top left portion.
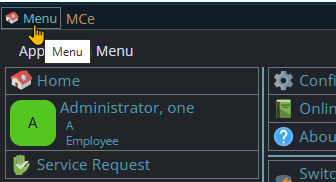
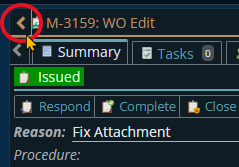
If the menu button isn't visible, you are likely on a screen too narrow to see everything, press on the left pointing gold button to take you so you can see the menu button.
Variation 1: What you have access to
Depending on the size of your screen, what products your company has purchased and what rights you have been granted, the choices in the menu will vary.
Variation 2: How wide your window is
The menu will show up as 1, 2 or 3 columns depending on how wide your screen is.
If you are on a cell phone, and some smaller tablets in portrait mode or a narrow window on a laptop or desktop, you'll see the menu as one column that you scroll through using your finger or the scroll wheel or the scroll bar depending on your device, browser and whether you have a touch screen or not.
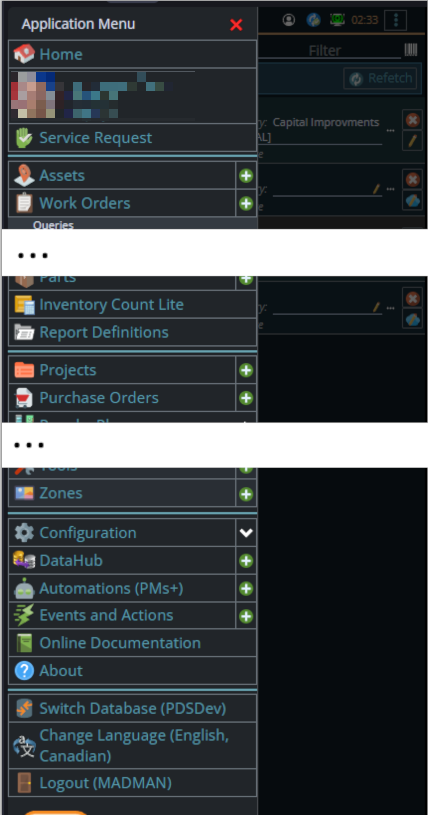
A bit wider, some cell phones in landscape, some tablets in portrait, most tablets in landscape and 'somewhat' wider laptop/desktop, will show it as 2 columns wide, with the middle column available on the left by scrolling down
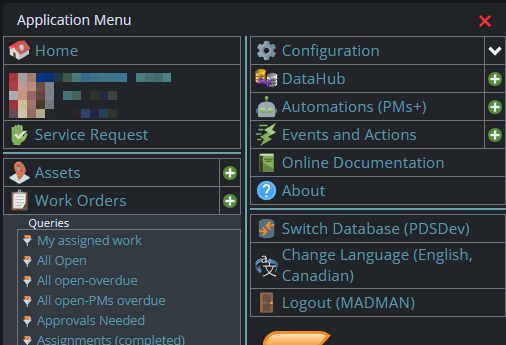
And wider screens, some landscape tablets, and wider windows on a laptop or desktop show it as 3 columns. If you have all the dropdown sections expanded, it may still require vertical scrolling to see all the choices depending on the height of your device or window.
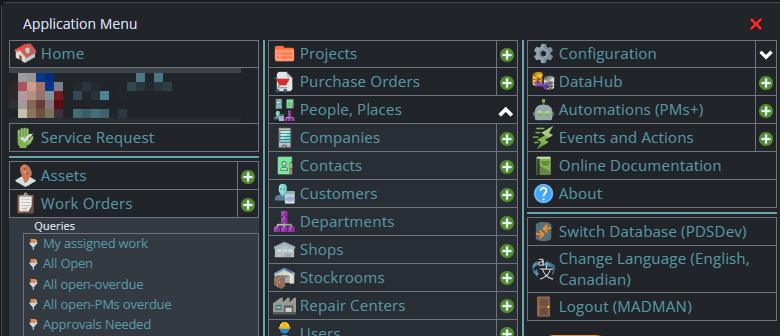
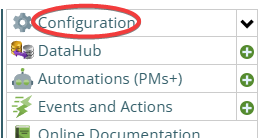
Once the menu is up, the exact location of the configuration button depends on how wide your window is and how many options you have access to. On most it will be at the top of the 2nd or 3rd column of the menu but on a cell phone or narrow window, it will be down partway in the first column.
Then click on the Lookup table manager
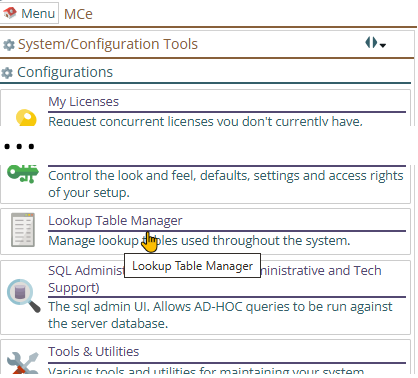
This will then open in the next panel the list of Lookup tables you currently have
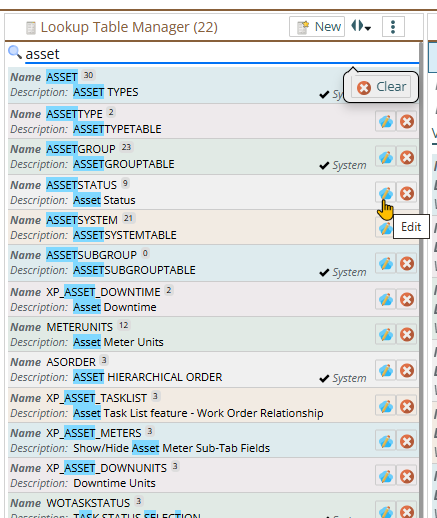
You can then click on the pencil to view/edit the lookup table you want.
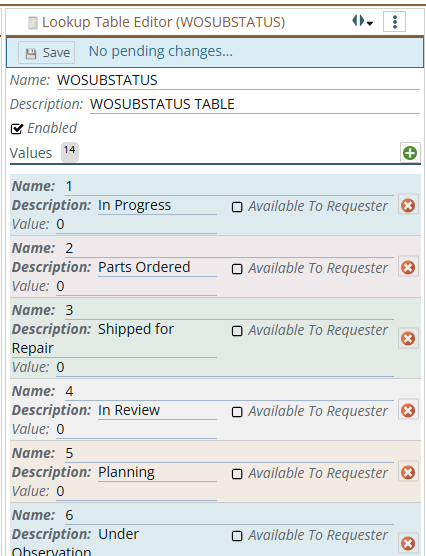
In the values, the 'Name' is the field that contains the actual data that will be stored if it is picked. So for example in the table below, the value 1 will be stored if a user picks 'In Progress'
Once you have one set up, the most common next step is to connect it to a UDF: Connecting a lookup table to a UDF